To download the Grandstream Wave app from the Play Store and access its features, please follow these steps:
- Open the Google Play Store on your Android device.
- Search for "Grandstream Wave" or "GS Wave - Video" and select the appropriate app from the search results.
- Click the "Install" button to begin the download and installation process.
- Once the installation is complete, open the Grandstream Wave app.
- You will be prompted to grant app-specific permissions, such as access to your microphone and camera. It's essential to approve all permissions to ensure the app functions properly.
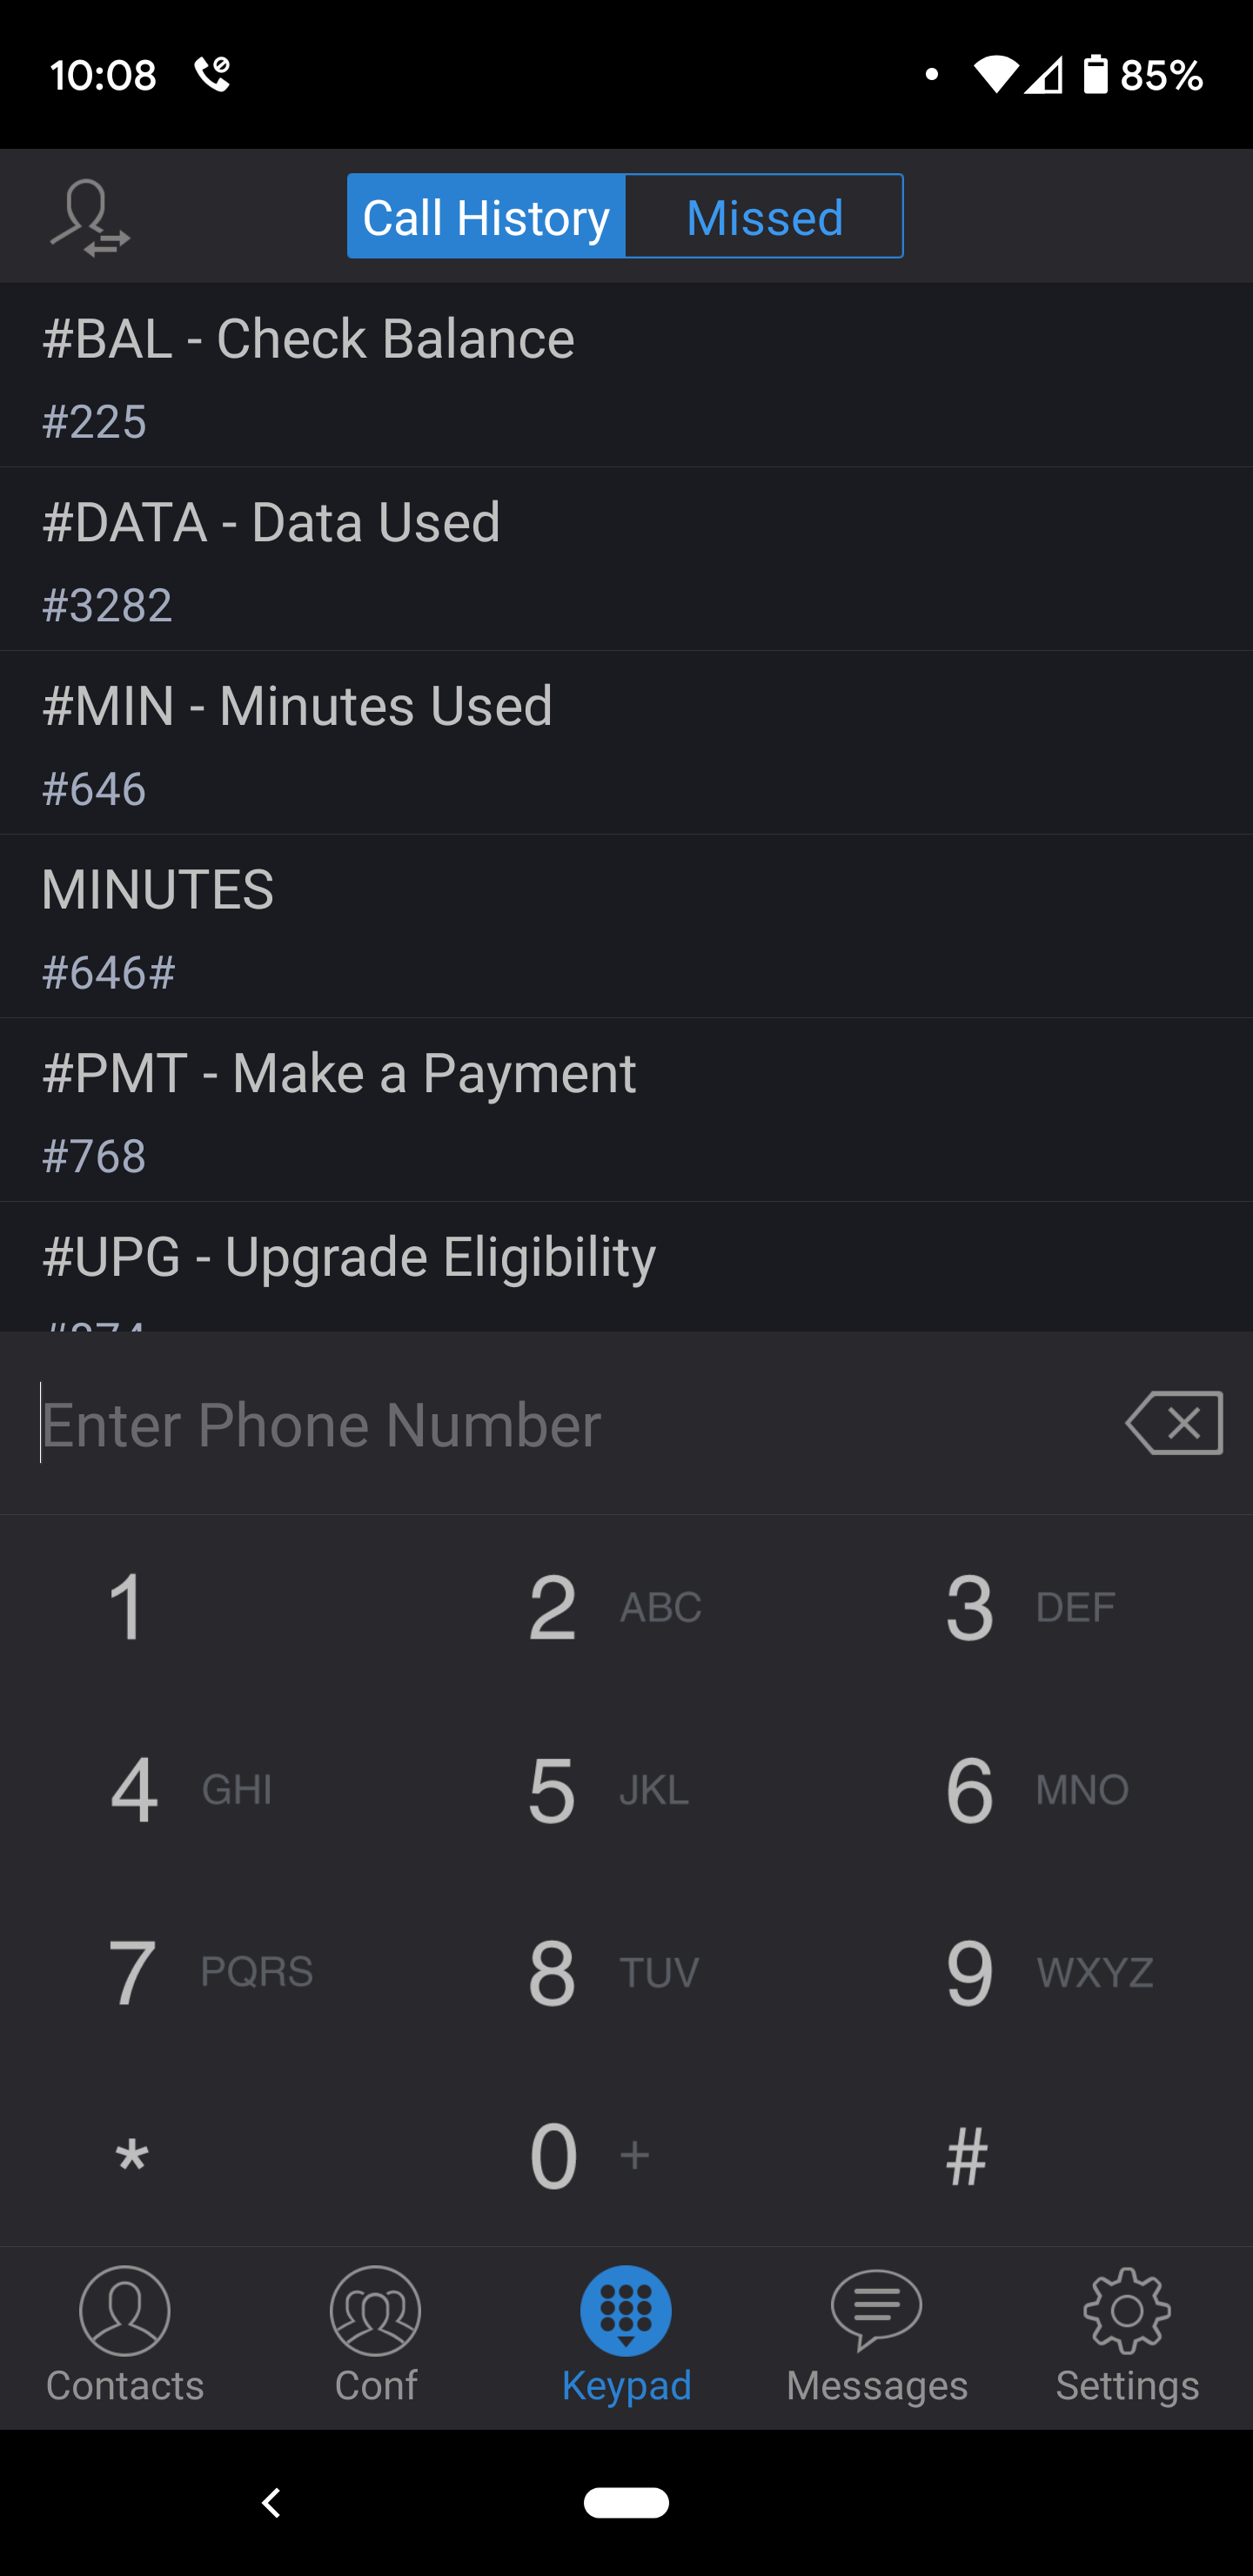
- After approving the necessary permissions, you should be greeted with the app's main screen, which may look like the image pictured below.
Just so you know, the specific layout and appearance of the app may vary depending on the device and version of the Grandstream Wave app you downloaded.

To access the settings menu in the Grandstream Wave app, follow these steps:
- Open the Grandstream Wave app on your device.
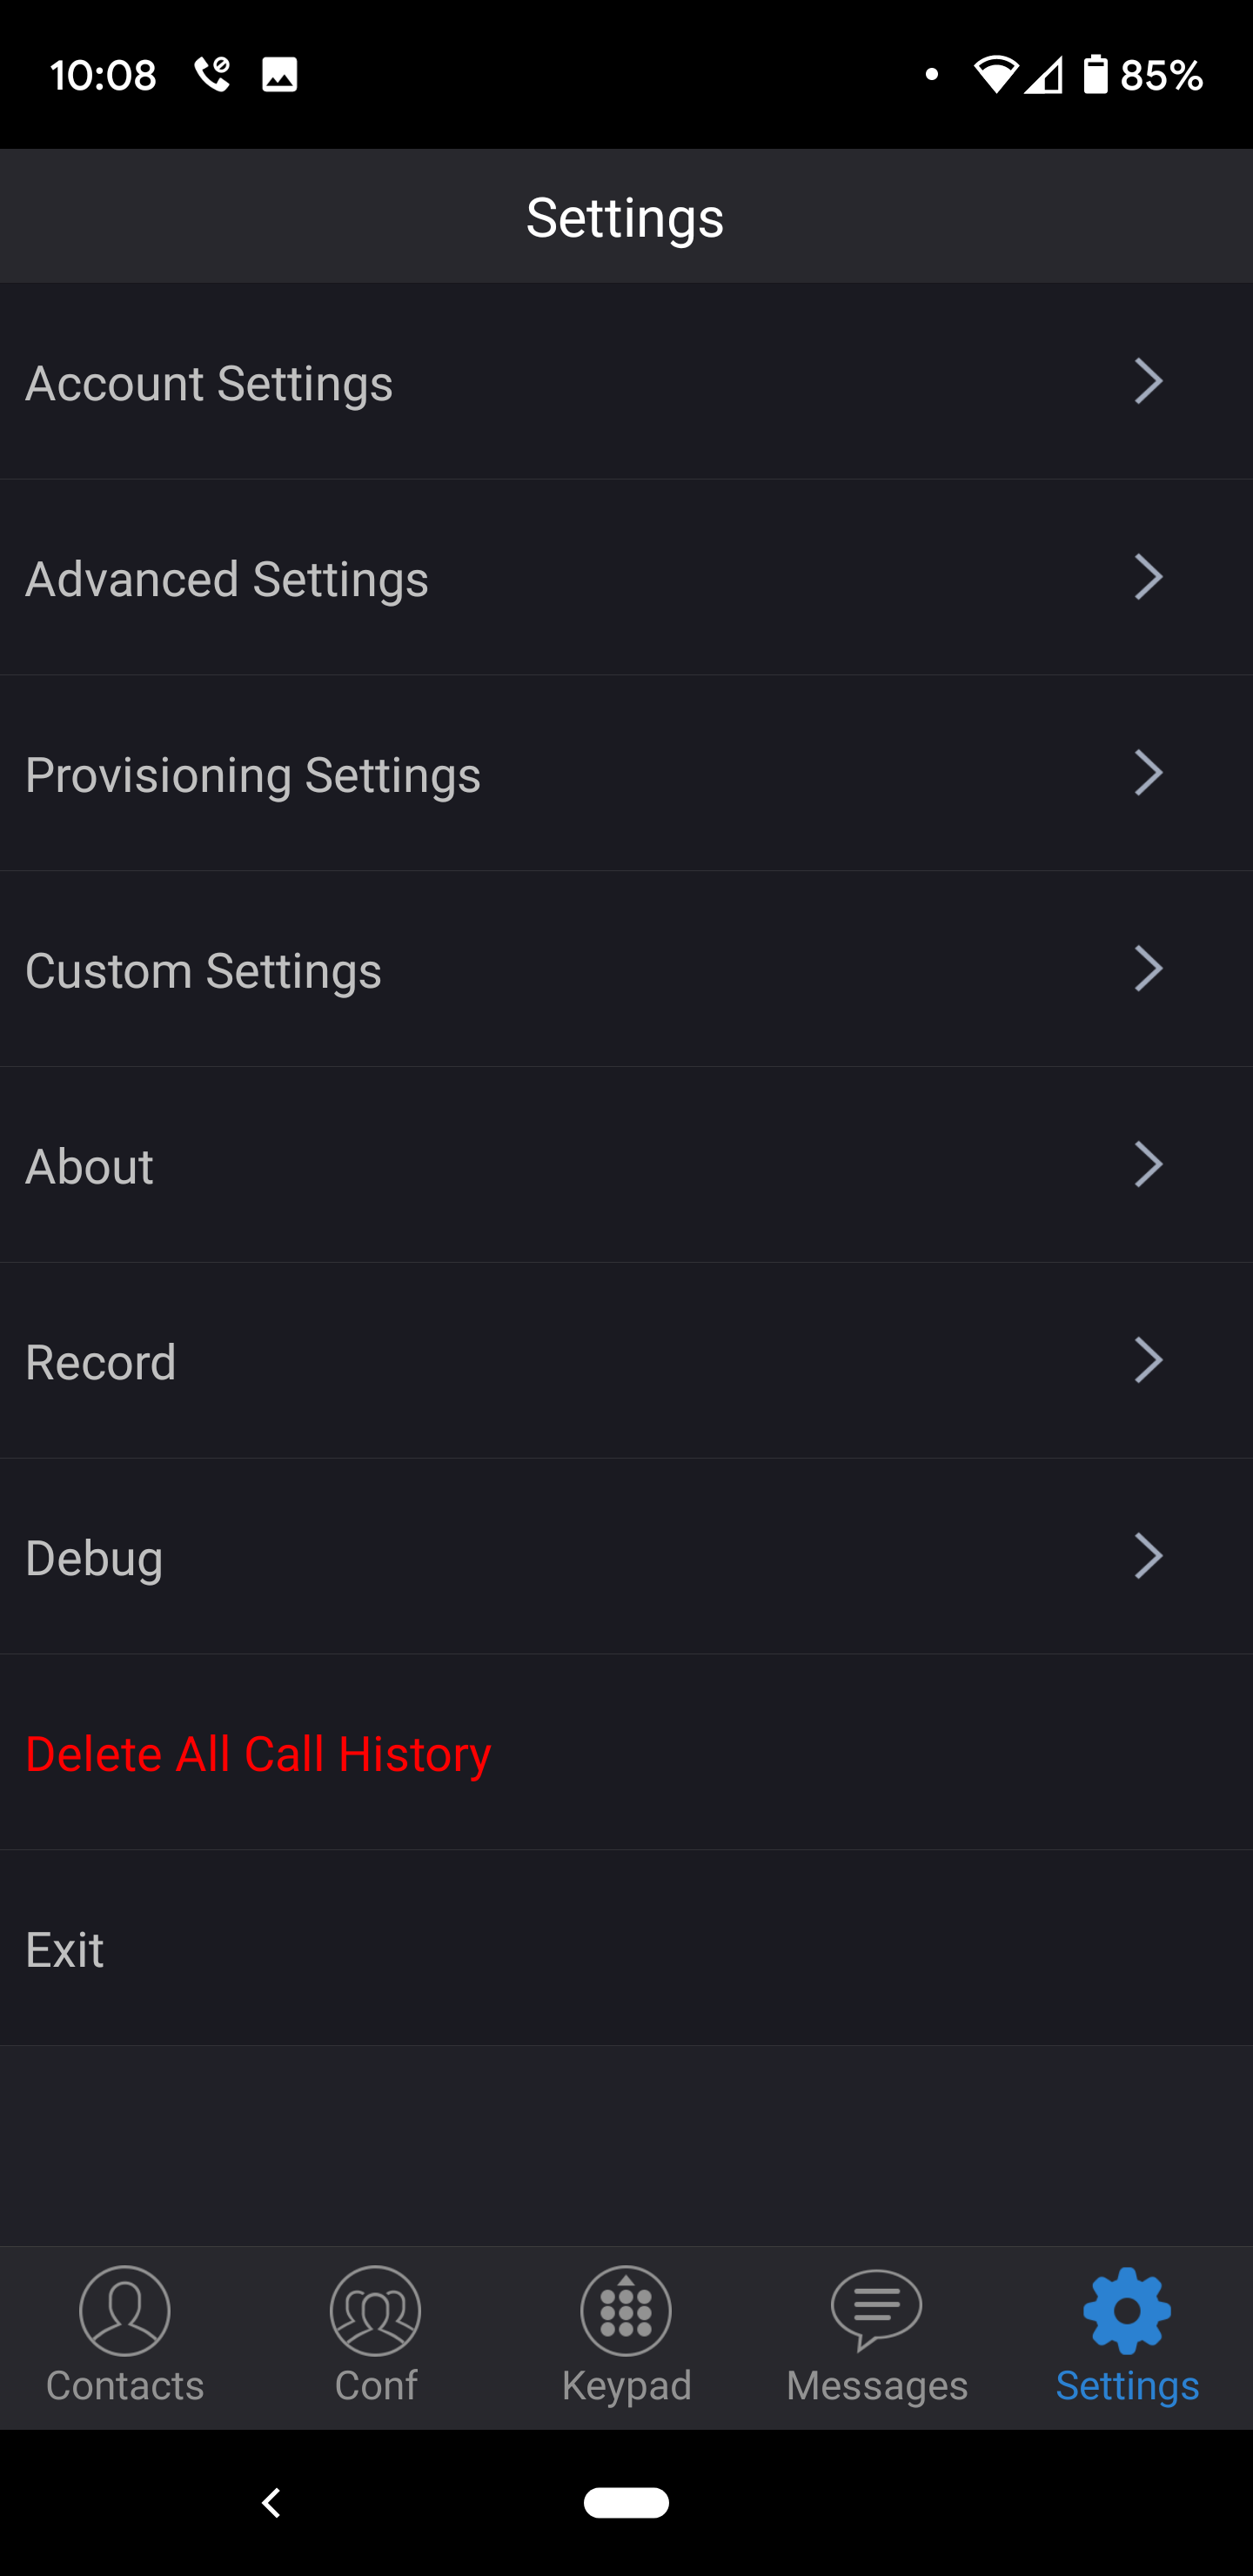
- Look for the settings icon, which is typically located in the lower right corner of the app's main screen.
- Tap on the settings icon to open the settings menu.
- Once the settings menu is open, you should be able to adjust various app settings and configurations, such as call preferences, audio and video settings, and more.
- The appearance of the settings menu may vary depending on the version of the app and the device you are using.

Select account settings from the top of the list, opening up the account settings menu as shown below.

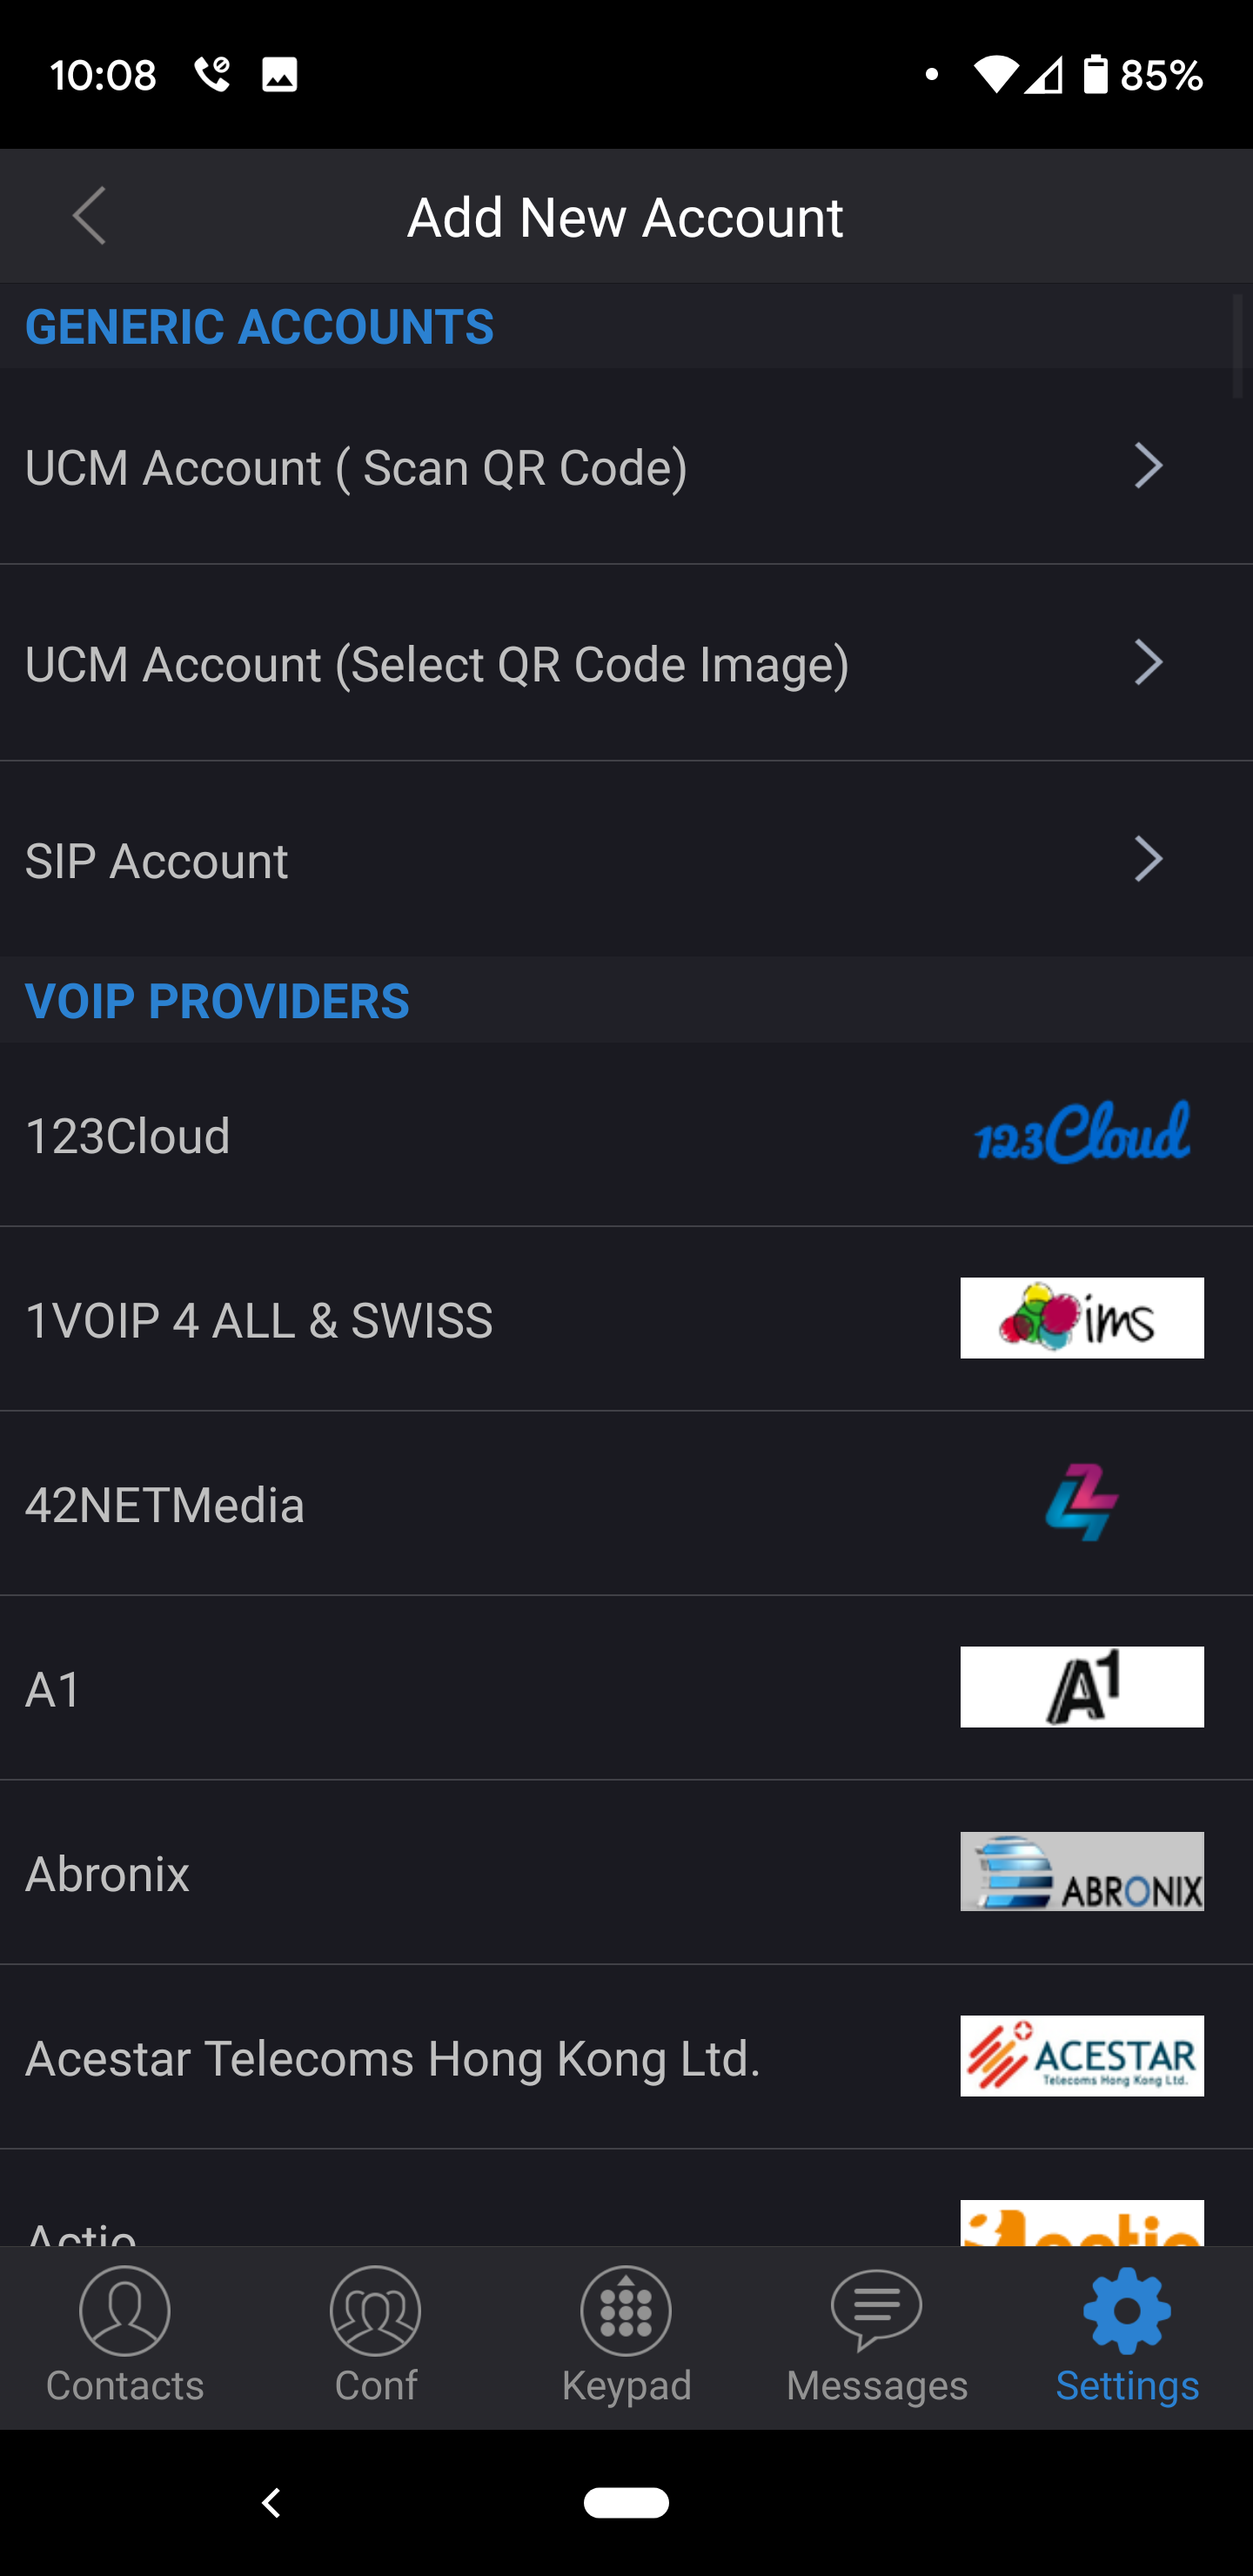
Select the plus sign at the upper right of the account settings screen to create a new account. It will open up the add new account screen, as pictured below.

From the list, select SIP Account (third one down). And it will move to the last screen, where the account information for Cytracom will need to be entered. When finished, you can select the check button in the upper right corner to submit the changes.

Account Name- Locally significant, enter what is preferred.
SIP Server- register.cytracom.net
SIP User ID- SIP Username (found in each of the extensions under advanced settings)
SIP Authentication ID- Use the SIP Username again
Password- SIP Password (found in each of the extensions under advanced settings)
Voicemail UserID- * + extension number (e.g. *400)
Display Name- Enter the preferred name
Note: this guide was created using App version 1.0.3.29 and running on an Android 10. Older app or android builds versions may differ in appearance or function.