1- Create Network List for Cytracom
Under Settings>Networks>Network lists>Create New> Add our IP Addresses and Range
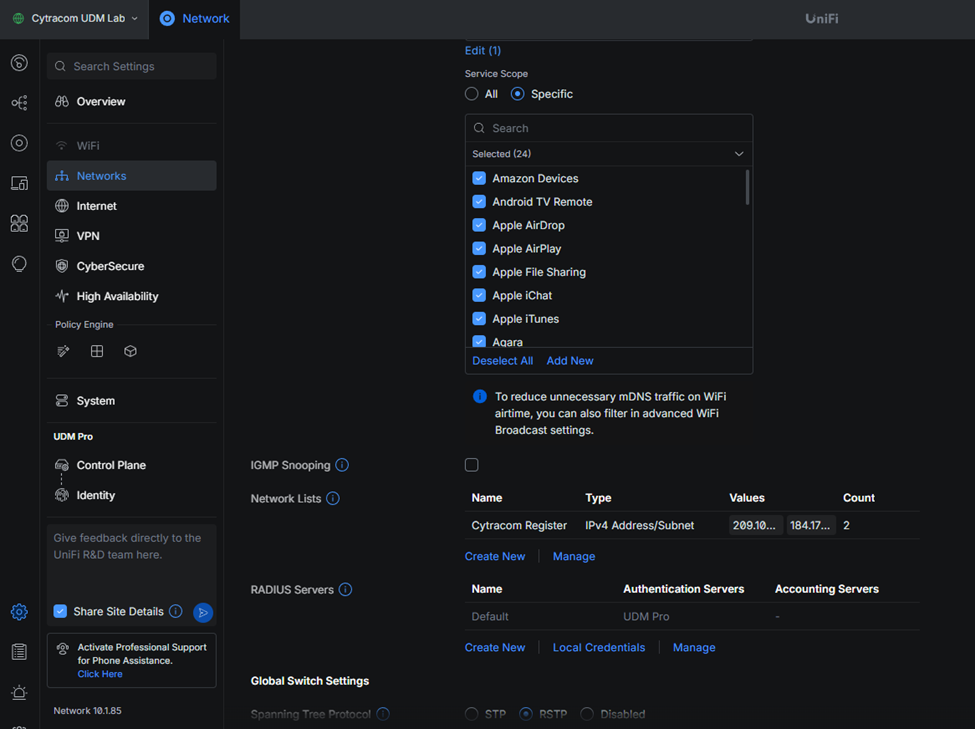
Here are the ranges and IP’s.
IP ranges:
- 209.105.249.194-209.105.249.252
CIDR: 209.105.249.0/24
- 184.175.130.161-184.175.130.186
CIDR: 184.175.130.160/27
- 3.208.72.128-3.208.72.158
CIDR: 3.208.72.128/27
- 205.142.242.20-205.142.243.254
CIDR: 205.142.242.0/23
- 64.58.110.1-64.58.111.254
CIDR: 64.58.110.0/23
2- Creating Firewall Policy
Under Settings>Policy Table>Create New Policy>Firewall
Create a rule for outbound traffic to Cytracom:
Name: Cytracom OUT
Source Zone: Internal
Source Zone Object: Any
Source Zone Port: Any
Action: Allow
Destination Zone: External
Destination Object: IP>List>Cytracom (the list created earlier)
Destination Port: Any
The rest can be left as default
3- Creating QoS
Under Settings>Policy Table>Create New Policy>QoS
Name: Cytracom QoS
Qos Behavior: Prioritize and Limit
Interface: WAN1 (or the interface the phone exits from)
Download Limit: (75 Kbps per extension, desktop applications count as an extension)
Upload Limit: (75 Kbps per extension, desktop applications count as an extension)
Example: If you have two extensions with two phones connected and two desktop applications, this would be considered 75 x 4 and not 75 x 2
Source: Any
Destination: IP>List>Cytracom
3- Adjusting Timeouts and SIP ALG
Under Unifi Devices>UDM Pro Firewall>Settings>Uncheck Auto Firewall State Timeouts
Adjust "UDP Other" Timeout to 180, the rest can be left at default
Under Firewall Connection Tracking, Disable H.323 and SIP